

On This Page
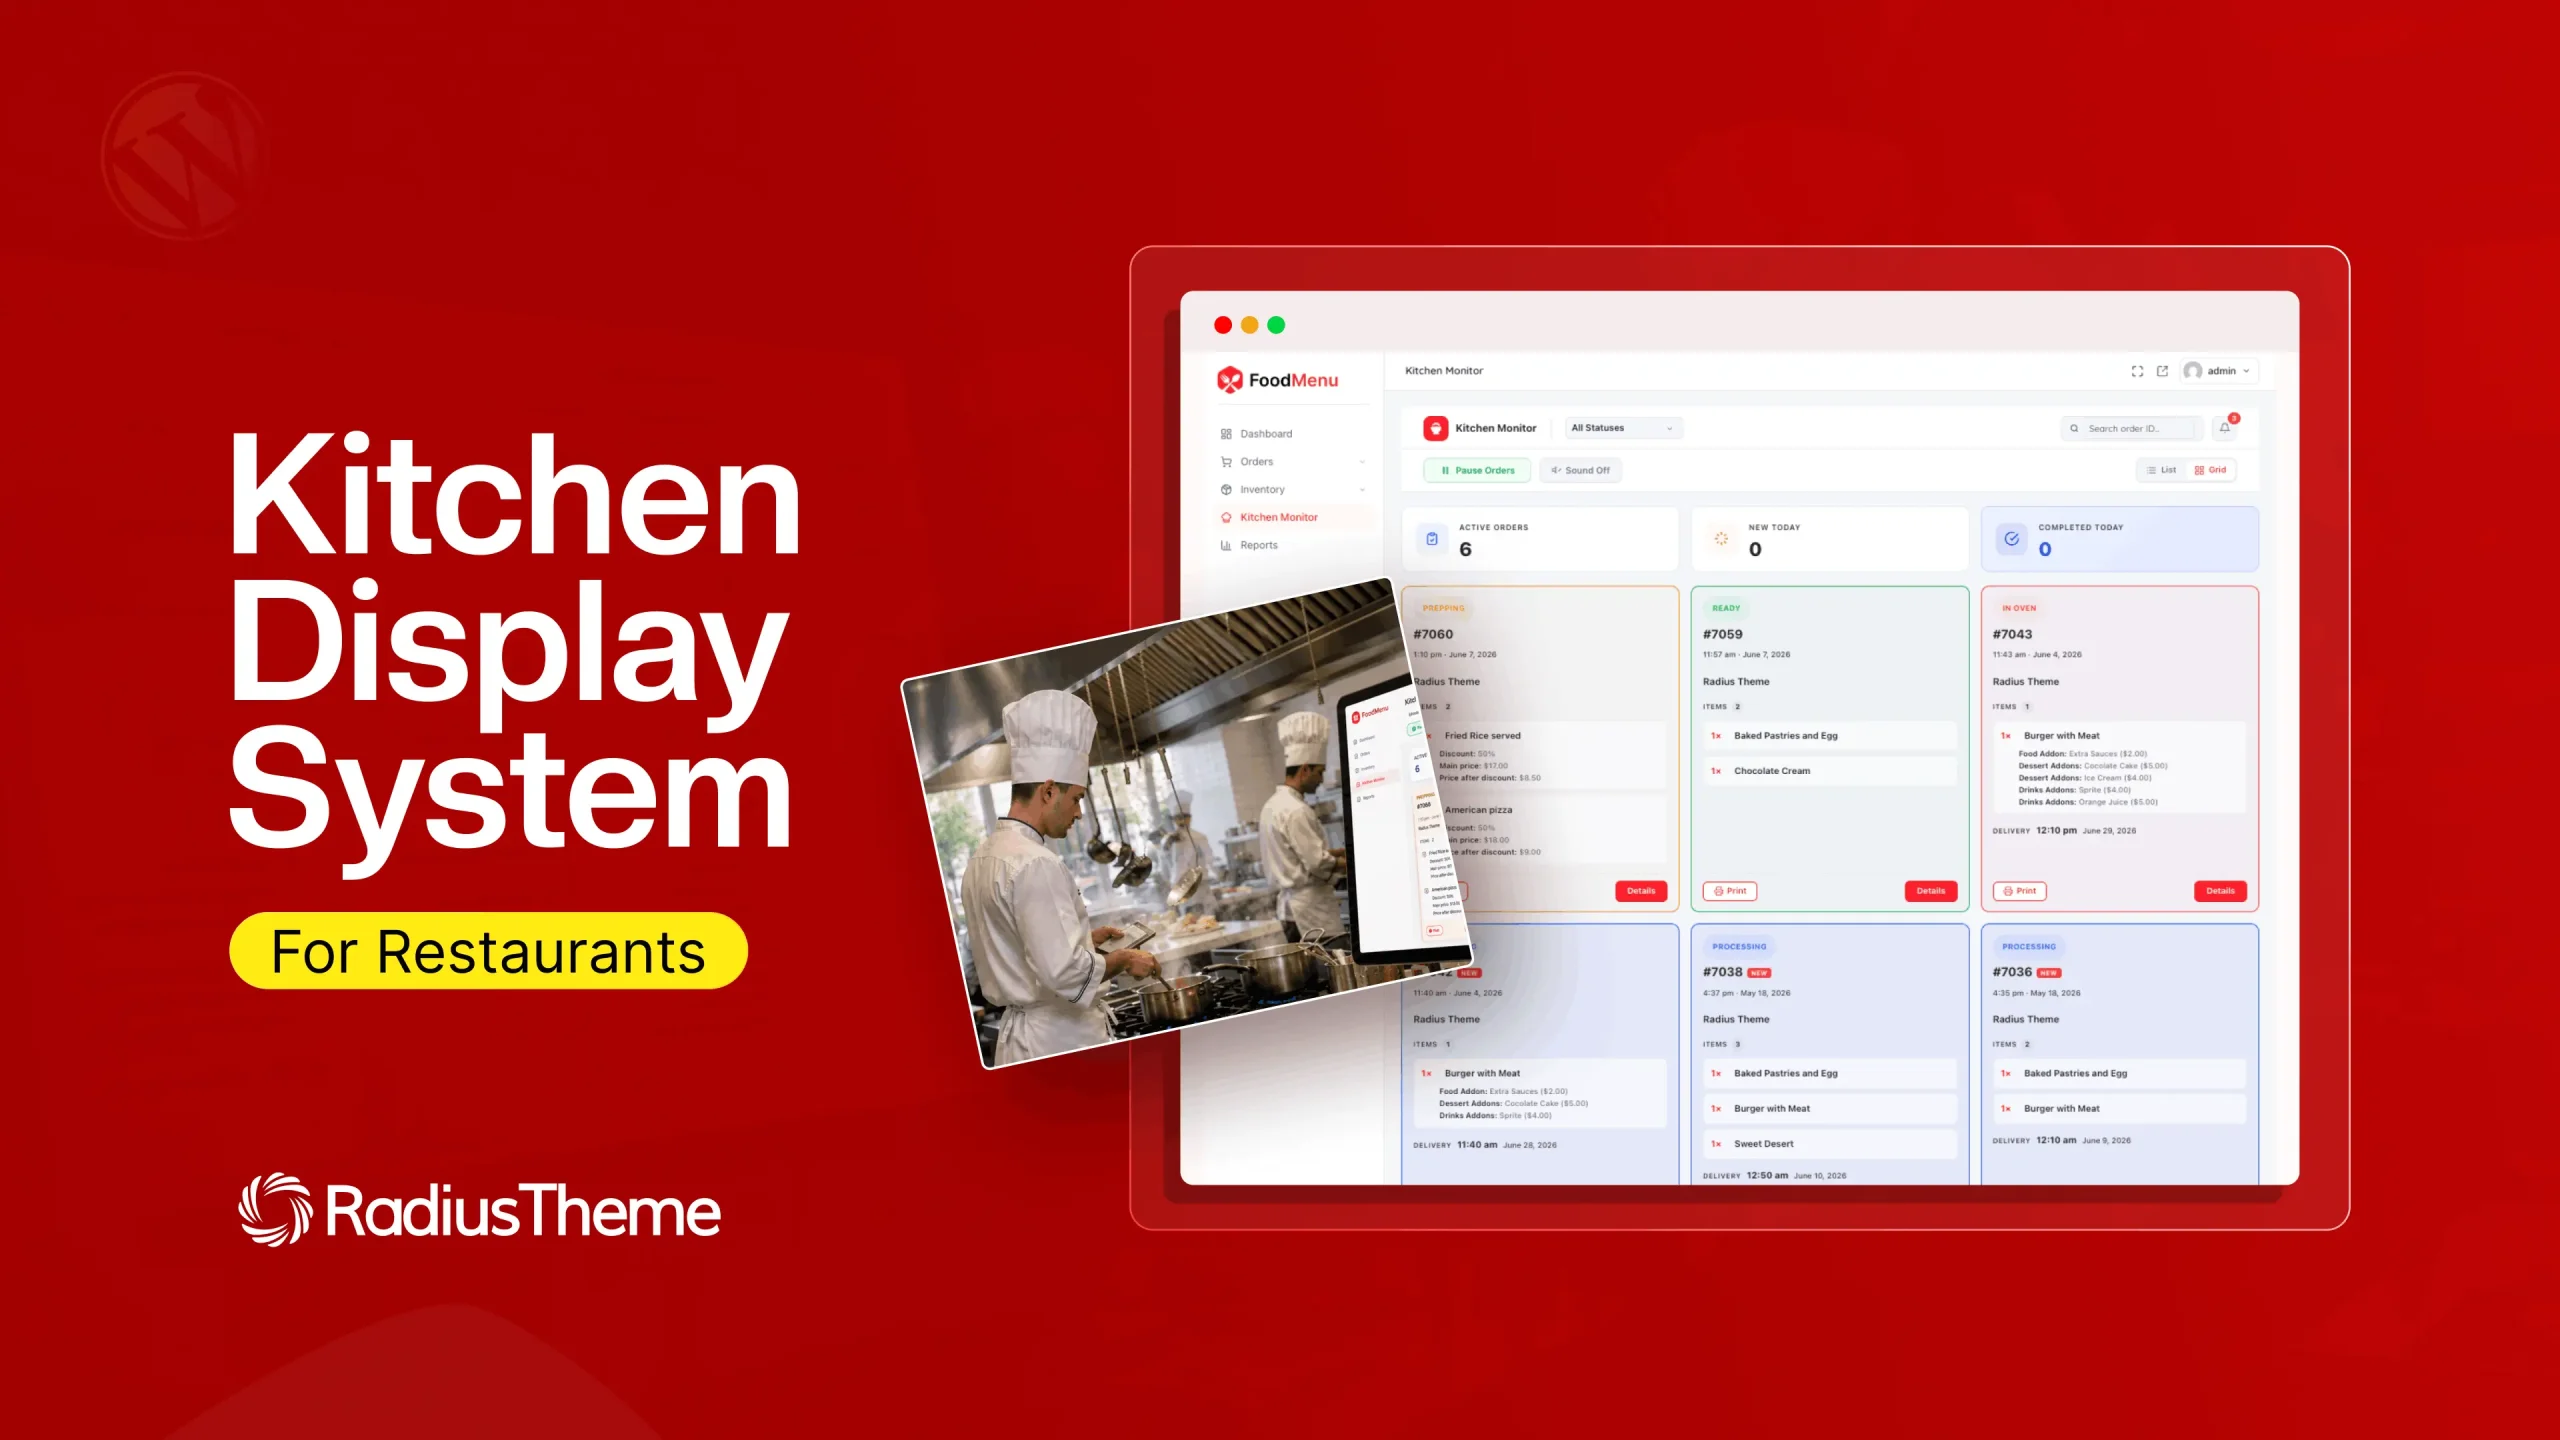
Quick answer: A kitchen display system (KDS) is a digital screen in your kitchen that replaces printed paper tickets, showing incoming orders in real time and letting cooks update each order’s status as it moves from received to preparing to ready. You can build one in WordPress using the Food Menu plugin’s Kitchen Monitor, which pulls WooCommerce orders from your website onto any tablet or screen — no proprietary POS hardware and no per-screen monthly fee.
Key takeaways
- A KDS replaces paper tickets with a live screen. Orders appear instantly, update in real time, and nothing gets lost, smudged, or misread.
- Most KDS solutions lock you into a POS ecosystem. Proprietary systems typically charge a recurring per-screen fee and require their own hardware.
- WordPress can run a full KDS. If your restaurant site already takes orders through WooCommerce, a plugin-based Kitchen Monitor turns any tablet into a kitchen screen.
- You own the whole stack. Your menu, orders, customer data, and kitchen workflow all live on your own site instead of a third-party platform.
- Setup is a one-afternoon job. Install, configure order statuses, assign kitchen staff roles, and open the monitor on a tablet.
What is a kitchen display system (KDS)?
A kitchen display system is a digital screen that shows incoming customer orders to kitchen staff in real time, replacing traditional printed or handwritten tickets.
When a customer places an order — online, at the counter, or from a QR code at their table — the order appears immediately on the kitchen screen with its items, quantities, modifiers, and special instructions. As cooks work through it, they tap to update its status, and that update flows back to front-of-house staff and, in modern systems, to the customer.
The core job of a KDS is simple: make sure every order reaches the kitchen accurately and nobody has to guess where it stands.
KDS vs. paper tickets vs. POS printer
| Paper tickets | POS printer | Kitchen display system | |
|---|---|---|---|
| Order visibility | One slip, one place | One slip, one place | Live on screen for whole team |
| Status tracking | Verbal / guesswork | Verbal / guesswork | Tap to update, visible to all |
| Lost or damaged orders | Common | Common | Not possible |
| Handwriting errors | Frequent | None | None |
| Order timing data | None | None | Tracked automatically |
| Running cost | Paper + ink | Paper + ink | Screen only |
Why restaurants switch to a KDS
Fewer wrong orders. Misread handwriting and smudged thermal paper are a leading cause of remakes. A digital ticket shows exactly what was ordered, including every modifier and allergy note, in legible text.
Faster ticket times. When the whole line can see what’s queued, cooks prioritize and fire dishes in the right sequence instead of working slip by slip. Diners ordering takeaway and delivery increasingly expect short, predictable waits — and ticket time is the single lever that controls it.
No lost tickets during a rush. Paper falls off rails, gets soaked, or gets buried. A digital queue can’t be dropped.
Front-of-house stops interrupting the kitchen. Instead of a server leaning through the pass to ask “how long on table six?”, the status is on the screen — and can be pushed to the customer automatically.
You get data you never had. Because every order is timestamped from received to ready, you can finally see your true average prep time, your genuine peak hours, and which dishes slow the whole line down.
Less waste and lower printing cost. No rolls of thermal paper, no ink, no printer jams mid-service.
Can you build a kitchen display system in WordPress?
Yes. This is the part almost no KDS guide covers, because nearly all of them are published by POS companies selling their own hardware.
If your restaurant website is built on WordPress and takes orders through WooCommerce, you already have the two things a KDS needs: a live order feed and a database to track order status. The only missing pieces are a kitchen-facing screen layout and a way for cooks to update status without touching the WordPress admin.
That is exactly what the Food Menu plugin added in its 6.0 release with the Kitchen Monitor, part of a front-end dashboard that also covers order management, inventory, and staff roles.
Why this approach makes sense for independent restaurants
No per-screen subscription. Proprietary KDS is typically billed monthly per terminal, on top of your POS fee. A WordPress plugin is a single license covering your site.
Any device works as a screen. An old iPad, a cheap Android tablet, a laptop, or a wall-mounted monitor — anything with a browser. No certified hardware to buy.
One system instead of three. Your menu, online ordering, table reservations, and kitchen display run from the same WordPress install, so there’s nothing to sync between vendors.
You own your data. Orders and customer information stay in your own database rather than a third-party platform you’d have to migrate away from later.
It scales with you. Add a second screen, a second branch, or new order statuses without renegotiating a contract.
Where a WordPress KDS fits — and where it doesn’t
Be realistic about this. A WordPress-based KDS is an excellent fit if:
- You’re an independent restaurant, café, cloud kitchen, bakery, or small chain.
- Your orders come primarily from your own website, QR table ordering, pickup and delivery.
- You want to avoid recurring per-terminal software fees.
- You already run (or plan to run) your site on WordPress and WooCommerce.
It’s a weaker fit if you’re a large multi-national chain that needs deep integration with an enterprise POS, drive-thru timing hardware, or a complex multi-station coursing setup across many kitchens. In those cases a dedicated enterprise KDS still earns its cost.
How to set up a kitchen display system in WordPress: step by step
Here’s the full process. Budget an afternoon.
Step 1 — Set up WordPress and WooCommerce
Your KDS runs on your order data, so you need a working store first. Install WordPress, then install and activate the free WooCommerce plugin. Complete the setup wizard: set your currency, location, and payment methods. WooCommerce is what actually receives and stores each order.
Step 2 — Install the Food Menu plugin
Install and activate Food Menu, then enter your license key. The free version on WordPress.org covers menu display; the Kitchen Monitor and front-end dashboard are Pro features, so you’ll want the Pro license for a working KDS.
Step 3 — Build your menu
Add your dishes as menu items with prices, categories, and photos. If you sell customizable items, configure product add-ons now — extra cheese, sauce choices, sides. This matters more than it sounds: add-ons and modifiers are exactly what gets lost on handwritten tickets, and configuring them properly here means they’ll display cleanly on the kitchen screen later.
Use the layout options to publish the menu on your site with a shortcode, Elementor widget, or Gutenberg block.
Step 4 — Turn on your order channels
Decide how orders will reach the kitchen and enable each one:
- Online ordering for pickup and delivery, with time slots and weekly schedules.
- QR table ordering so dine-in guests scan a code at the table and order from their phone — those orders land on the kitchen screen exactly like online ones.
- Custom checkout fields to capture allergies and special requests, so they appear on the ticket instead of being relayed verbally.
Step 5 — Define your custom order statuses
This is the step that turns a passive order list into a real KDS, and it’s the one people rush.
Create statuses that mirror how your kitchen actually works. A useful default is:
Received → Preparing → Ready → Picked Up / Out for Delivery → Completed
Keep it to four or five stages. Too few and the screen tells you nothing; too many and cooks stop updating it mid-rush, which makes the whole system untrustworthy. Match your real workflow — a pizzeria might add “In Oven,” a café might not need it at all.
Step 6 — Assign staff roles
Use the role manager to give kitchen staff access to the Kitchen Monitor without handing them keys to your entire WordPress admin. A line cook should be able to see orders and change their status — nothing more. This keeps your site secure and the interface uncluttered for the person using it under pressure.
Step 7 — Open the Kitchen Monitor on your kitchen screen
Log in on the tablet or monitor you’re mounting in the kitchen and open the front-end dashboard’s Kitchen Monitor view. Orders now appear live as they come in, and staff tap to advance each one through your statuses.
Practical setup tips:
- Mount the screen at eye level, away from steam, heat, and splash zones.
- Use a wipeable screen protector — kitchen hands are messy hands.
- Set the device to never sleep, and keep it plugged into power permanently.
- Enable full-screen or kiosk mode in the browser so nobody accidentally navigates away.
- Bookmark the monitor URL as a home-screen shortcut for one-tap access after a restart.
Step 8 — Connect the rest of the workflow
Once orders are flowing, close the loop:
- POS printing — auto-print kitchen slips or delivery slips alongside the screen. Many kitchens run both during the first few weeks as a safety net.
- Order tracking — give customers a live timeline of their order, so your phone stops ringing with “is it ready yet?”
- SMS and WhatsApp notifications — push status updates automatically at each stage.
- Inventory management — track stock so you can 86 an item the moment it runs out, before another order for it hits the line.
KDS best practices for real kitchens
Run paper and screen in parallel for two weeks. Don’t rip out your printer on day one. Let staff build trust in the screen while a familiar backup exists.
Train during a slow shift, not a Friday night. Every cook should be able to advance a ticket without thinking. Ten minutes on a quiet Tuesday saves an hour of chaos later.
Make status updates a hard rule. A KDS is only as accurate as the last tap. If staff update inconsistently, front-of-house stops believing the screen and you’re back to shouting through the pass.
Put the screen where the work is. The person who advances the ticket should be able to reach it without walking away from their station.
Have an offline plan. Your ordering runs through your website, so decide in advance what happens during an internet outage — usually falling back to printed tickets until service resumes.
Review your timing data monthly. Look at average prep times by dish. The item that consistently drags is either a menu problem, a prep problem, or a staffing problem — and now you can prove which.
What a WordPress KDS costs vs. a proprietary system
The honest comparison, because this is usually the deciding factor for an independent restaurant.
| Proprietary POS + KDS | WordPress + Food Menu | |
|---|---|---|
| Software cost | Recurring monthly fee, often per screen | Single plugin license (from $49/year, or one-time lifetime pricing) |
| Hardware | Certified proprietary terminals | Any tablet, laptop, or monitor you already own |
| Menu & website | Usually a separate cost | Same system as your KDS |
| Online ordering commission | Often a percentage per order | None — orders go through your own site |
| Data ownership | Vendor’s platform | Your own database |
| Contract | Often locked in | Cancel or keep using anytime |
RadiusTheme backs the plugin with a 30-day money-back guarantee, so you can validate the workflow in your own kitchen before committing.
Frequently asked questions
What is a kitchen display system?
A digital screen that shows kitchen orders in real time, replacing paper tickets.
Can I build a KDS in WordPress?
Yes. The Food Menu plugin’s Kitchen Monitor turns any browser screen into a live kitchen display.
Do I need WooCommerce?
Yes. WooCommerce processes the orders; Food Menu displays them on the kitchen screen. It’s free.
What hardware do I need?
Any tablet, laptop, or monitor with a browser. No proprietary POS hardware required.
How many screens can I run?
As many as you like — it runs in a browser, so multiple devices can display it at once.
Does it handle takeaway and delivery?
Yes. Dine-in, QR table, pickup, and delivery orders all land in the same kitchen queue.
Is a KDS worth it for a small restaurant?
Usually yes — fewer wrong orders and no recurring per-screen fee to justify.
Can customers track their order?
Yes, via a live order timeline plus automatic SMS or WhatsApp updates.
What if my internet goes down?
New online orders pause. Keep POS printing enabled as a fallback.
How much does it cost?
Food Menu Pro starts at $49/year, with lifetime options and a 30-day money-back guarantee.
How long does setup take?
About an afternoon — install, build your menu, set order statuses, and open the monitor.
Final thoughts
A kitchen display system used to mean signing up for an expensive POS ecosystem and buying hardware you didn’t choose. If your restaurant already runs on WordPress, it doesn’t have to.
Start with the workflow, not the software: map how an order actually moves through your kitchen, translate that into three or four order statuses, and give your team a screen that reflects reality. Get that right and the technology mostly disappears — which is exactly what you want during a Friday night rush.
Ready to build it?
The Food Menu plugin brings your menu, online ordering, QR table ordering, table reservations, and the Kitchen Monitor together in one WordPress plugin — with a 30-day money-back guarantee so you can test it in your own kitchen risk-free.



